| Threat |
Hero |
Notes |
1 |
 |
Alpha |
Probably easiest hero to play against as a Reim |
2 |
|
|
No Threat |
3 |
|
|
No Threat |
4 |
|
|
No Threat |
5 |
 |
Baptiste |
Ordained keeps you in place but his A is in range of your A so it evens out |
6 |
 |
Reim |
It depends on your skill and where you are with your build |
6 |
 |
SAW |
If he has all 12 spin up stacks he beats you if he starts attacking before you have any fortified |
6 |
 |
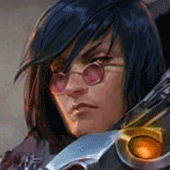
Kestrel |
Both kestrel builds can ruin your day if you play into her traps |
6 |
 |
Baron |
Burst is the reason Reim dies just try to anticipate his B and build Fortified Fealth |
7 |
 |
Celeste |
She has major range on you but you can use boots to get on her the combo your A and B to root her and destroy her |
7 |
 |
Skaarf |
Big range and slow goop is really annoying but same trick as Celeste |
8 |
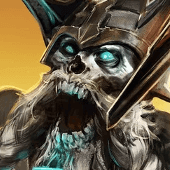 |
Krul |
As long as you engage and aren't half health you should be able to win |
8 |
 |
Taka |
Both variations of Take are pretty tough but as long as you get Taka chilled and when he disappears use your B you should catch him rooted |
9 |
|
|
No Threat |
10 |
 |
Skye |
Cp Skye is your worst nightmare, she can kite the crap out of you and suri strike around your A |
Quick Comment () View Comments
You need to log in before commenting.