| Threat |
Hero |
Notes |
1 |
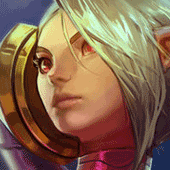 |
Celeste |
Low health meaning death is almost for certain on this hero, if only her Heliogenesis didn't make you visible on bushes. |
1 |
 |
Kestrel |
If it's Weapon Kestrel Burst her, if it's Crystal We need Vision. |
2 |
 |
SAW |
Hue hue hue...Seriously tho, just shut him down people, he's a Meme kill it. |
3 |
 |
Skaarf |
He's pretty easy to burst him down, just make sure the early game is a nightmare for the poor thing. |
3 |
 |
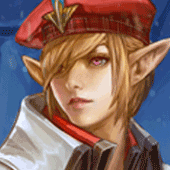
Ringo |
Break the early game and he's toast, he'll beg for Vision. |
3 |
 |
Gwen |
Her A is a nightmare for any stealth character if you know her max range stay at that range at all times. Other than that she's just a Female Ringo. |
3 |
 |
Joule |
Watch your back Joule, don't want to get Burst down. Avoid her Ult and B and you're good. |
4 |
 |
Baron |
Baron is pretty tanky for a Laner, his B also makes you slow if he's on his weapon Path, just wait for your Roam or hope that there's no mines so you can burst him down. |
4 |
 |
Ozo |
Ozo's B can heal him so your burst damage might get nullified but that's why you have your B. |
4 |
 |
Samuel |
Samuel's A and B are deadly since you can't really avoid it once you're on him so please plan accordingly. |
4 |
 |
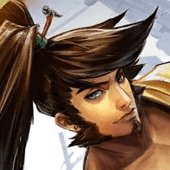
Reza |
If this Kratos wanna be Uses his Ult make sure you wait for it to wear off then strike. |
5 |
 |
Adagio |
His healing will sustain a lot but kill busting 1 target at a time and you'll do fine. |
5 |
 |
Lance |
Lance is all about tight spaces don't let him have that take the Fight some where open and you'll do fine. |
6 |
 |
Glaive |
Glaive is pretty tanky early on so if you want an early kill Plan your Flask accordingly and you'll do fine, just make sure you have your Roam with you. |
6 |
 |
Krul |
Don't 1v1 him, Nuff said. |
6 |
 |
Skye |
Skye is pretty mobile which is where you come in, but her B will drill you so move around. |
6 |
 |
Taka |
If it's Crystal Taka Run! If it's a Weapon Taka Burst Him! If it's this Build Umm...GLHF? |
6 |
 |
Rona |
Avoid her Ult and you'll be fine. |
6 |
 |
Baptiste |
His B and A Combo are pretty brutal, it will shut you down for a few seconds so play the patient Game. |
7 |
 |
Koshka |
Early on she'll break you, play dirty and surprise her you'll be fine. |
7 |
 |
Lyra |
Her B prevents your Ult and A from working, your B will also stop midway if caught play safe. |
7 |
 |
Blackfeather |
Attack then B, wait for an opening and then go for it again, just don't get caught by his Ult while in the fight. |
7 |
 |
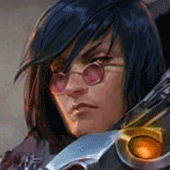
Flicker |
His stealth is better than yours but you can burst him down easily just don't get caught off guard. |
8 |
 |
Grace |
Not a big threat but her ULT makes it hard to burst the target down so plan your attacks accordingly. |
8 |
 |
Phinn |
Phinn is a special case, since his B pretty much counters Burst damage just play the patient game and you'll do fine. |
8 |
 |
Petal |
Potato is a special case, you either burst her then flee, or she burst you and she'll chase better off waiting for team mates. |
8 |
 |
Reim |
Old man Winter laughs at Burst Damage wait for his fortified health to wear off and you'll be fine. |
8 |
 |
Catherine |
Her Ult and A are your bane so just hope Cathy is feeling generous. |
9 |
 |
Idris |
He can chase you own and null your burst damage wait for his Ult and then plan your attack other wise you'll die where you stand. |
9 |
 |
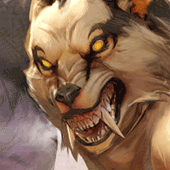
Grumpjaw |
This beast can withstand burst damage, make sure you catch him offguard. |
9 |
 |
Ardan |
His A can Nullify Burst Damage see which Hero he values the most then strike that hero doen after his A wares off. |
10 |
 |
Alpha |
Alpha's Infinite Reboot makes her hard to Kill since all of that burst damage will be wasted, you are better off going for their Carry. |
10 |
 |
Fortress |
He counters stealth meaning your surprise attack in a late game team fight will be useless unless he's all utility and now Cooldown Items but let's be honest, THEY NEED VISION!!! |


Quick Comment (1) View Comments
You need to log in before commenting.